Microsoft’s Windows 11 has a lot of features that are missing in the previous Windows versions. However, not everyone can install it on their PCs. Microsoft has new system requirements in place that could make some old computers incompatible with Windows 11. Did your PC make it, or would you need to invest in a new system? Read on to find out.

Use Microsoft’s PC Health Check to Check if Your PC Can Run Windows 11
Microsoft’s site has a Windows 11 support page where you can find its features and some FAQs that previously highlighted the Health Check app. You can download this tool to learn whether your PC supports Windows 11.
1 Download and Install the Microsoft’s PC Health Check app on your PC and launch it (Download link).
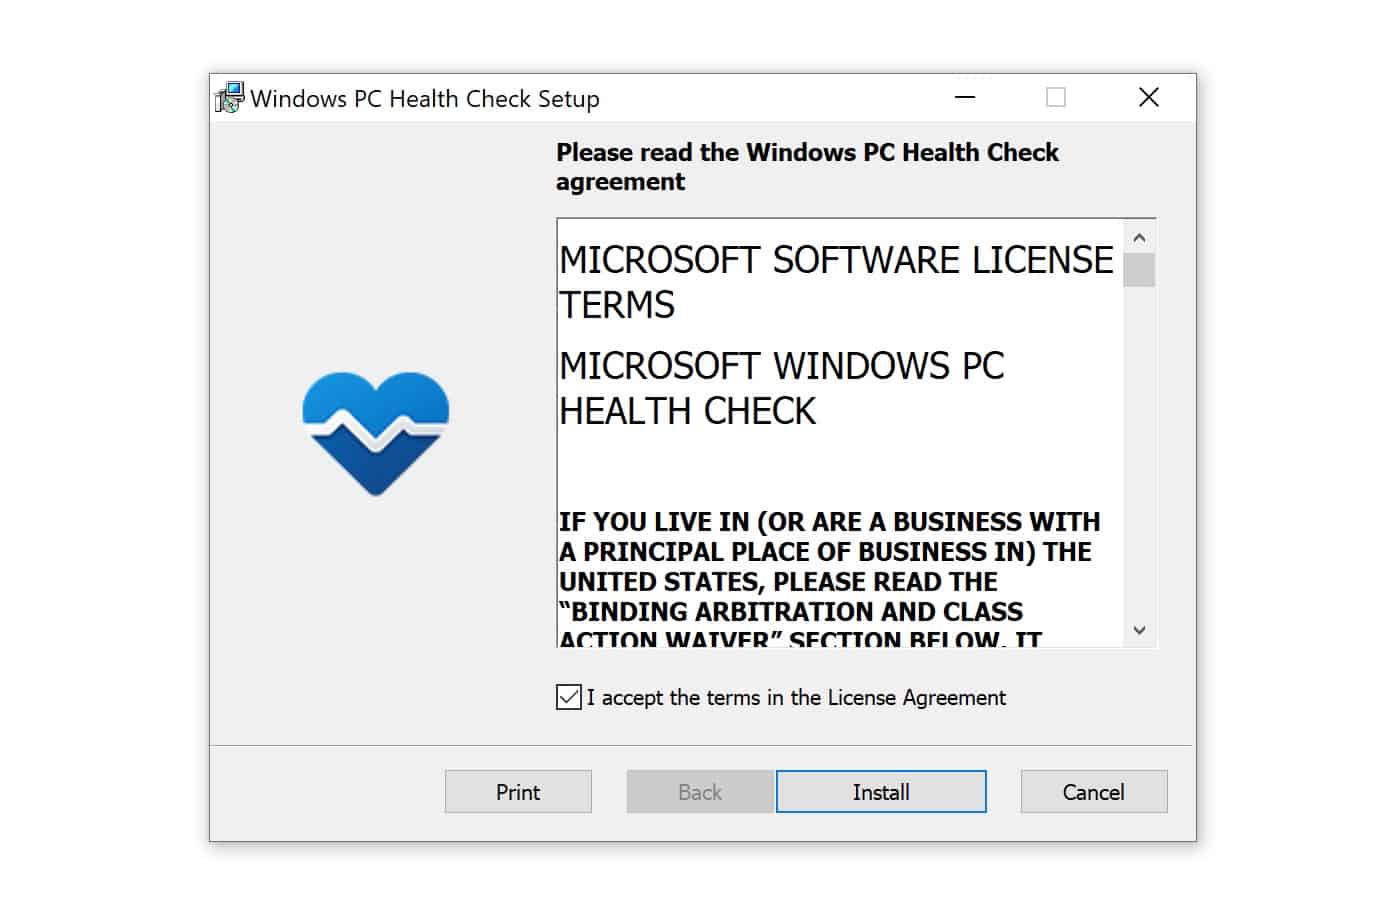
2 Accept the Microsoft License Agreement terms on the installer screen, then click “Install” to begin the installation.

3 Once the app is downloaded, click “Finish” and ensure the Open Windows PC Health Check box is marked.
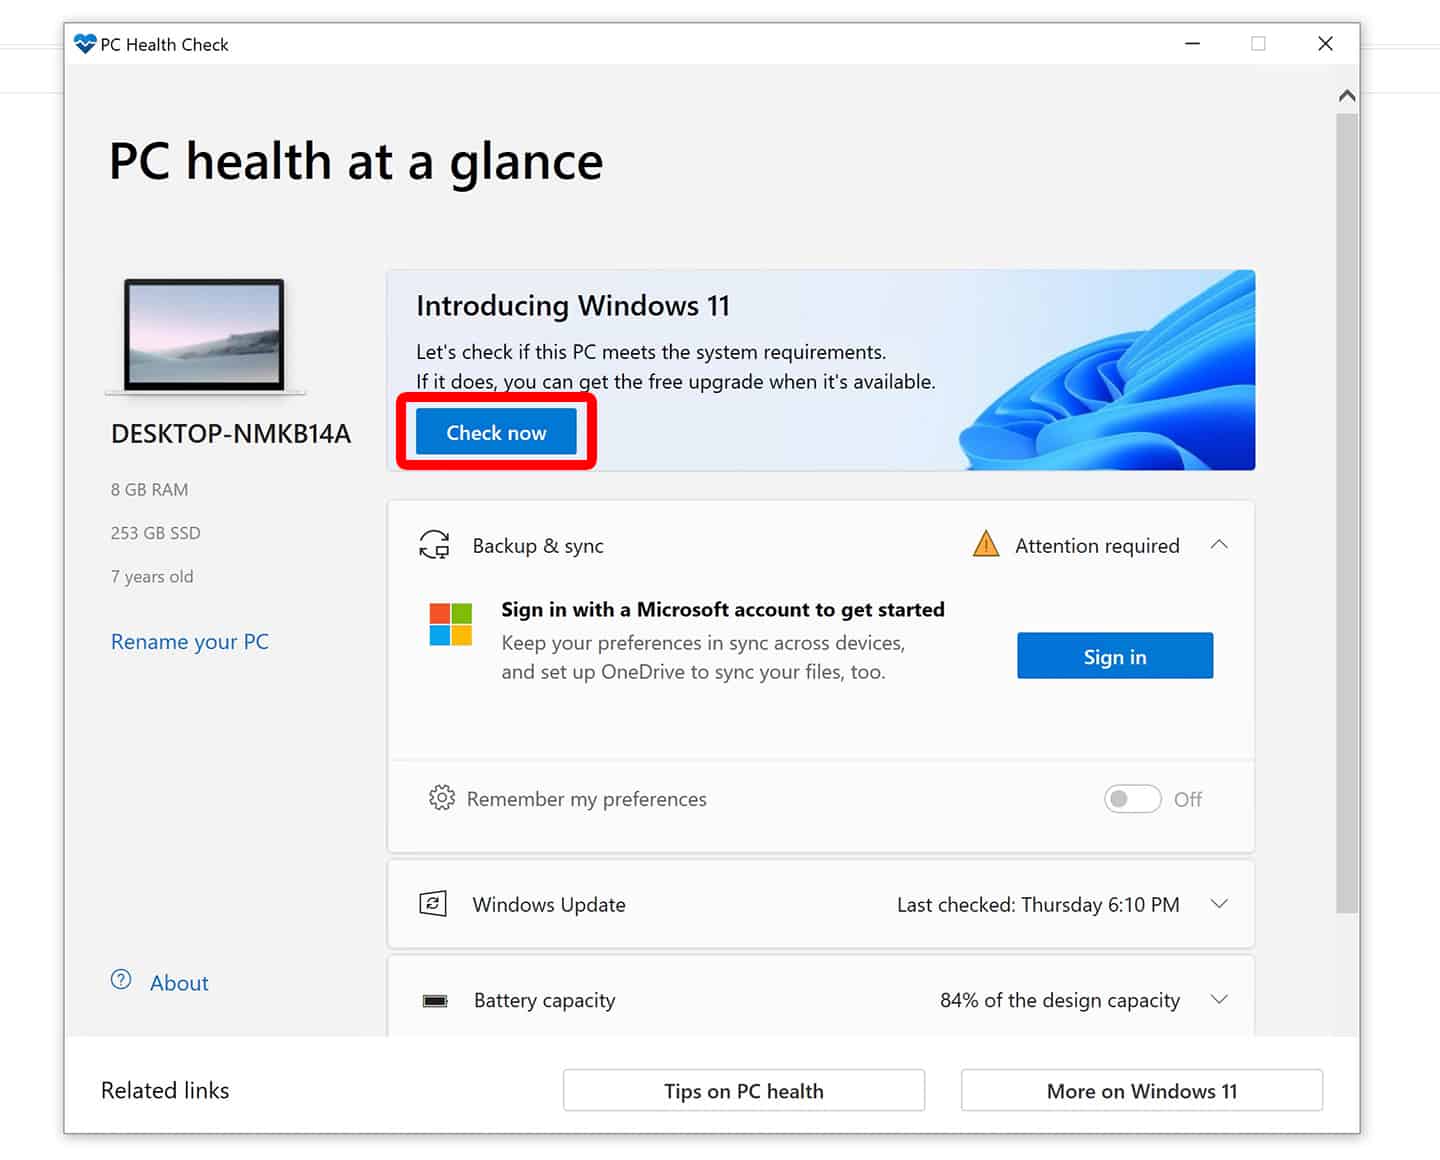
4 After opening the tool, your PC’s configuration will pop up on the left, along with a banner introducing Windows 11. Click “Check Now” to move further.

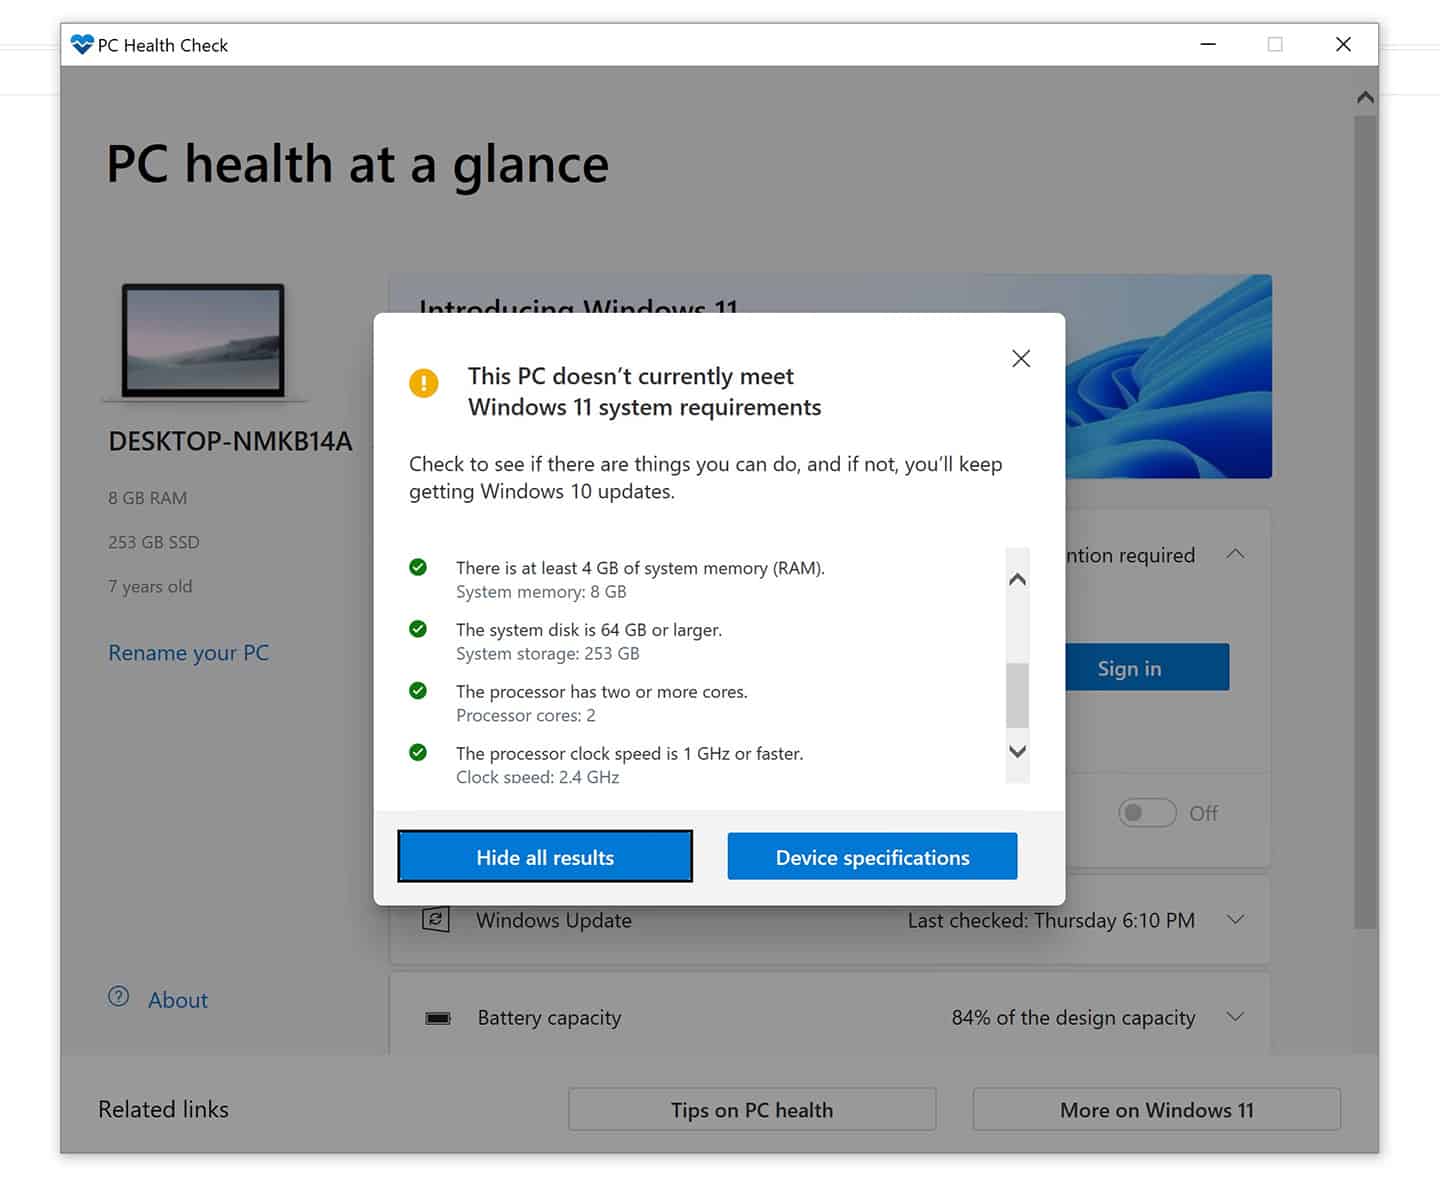
4 When you click the “Check Now” button, the app will diagnose your PC and reveal whether it can support Windows 11 installation or not.
5 If you have a compatible PC, a pop-up will appear with the message “This PC meets Windows 11 requirements.”

6 Next, click “See all results” to verify the requirements for each system. And that’s how to check whether your computer can support Windows 11. If you have an unsupported PC, you can always get a new Windows PC for you.
It’s worth mentioning that sometimes the This PC can’t run Windows 11 message pops up even when a computer’s hardware specs match the system requirements of Microsoft. If this happens to you, make sure to activate the Trusted Platform Module (TPM) from your computer’s UFEI. You can activate it from the Bios; the TMP 2.0 chip is one of the necessary hardware requirements to experience Windows 11 in full state.


